Quickstart
Kognic provides a client called kognic-io to simplify calling our APIs using Python.
Installation
Install via pip:
- kognic-io
- kognic-auth
Install kognic-io for the most common use cases like file uploads and
project management. bash pip install --upgrade kognic-io
Not needed for file uploads. Install kognic-auth if you intend to use
Dataset exploration or Annotation
integration. bash pip install --upgrade kognic-auth
Generating credentials
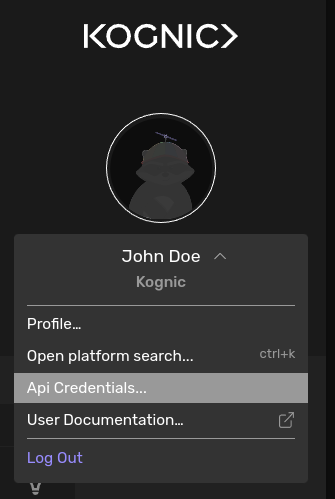
In the main platform, credentials can be generated by clicking here in the user menu.

Setting credentials
Set the environment variable KOGNIC_CREDENTIALS to point to it.
export KOGNIC_CREDENTIALS=~/path/to/credentials.json
Verify credentials
To verify that they are correct you can simply list projects in Python:
Since kognic-io v2.4.0 you can provide a workspace id that will be used for writes. For users with multiple workspaces this will be mandatory. See this page for instructions.
- kognic-io
- kognic-auth
from kognic.io.client import KognicIOClient

client = KognicIOClient()
client.project.get_projects()
print("success")
from kognic.auth.requests.auth_session import RequestsAuthSession

client = RequestsAuthSession()
client.session.get("https://input.app.kognic.com/v1/projects").raise_for_status()
print("success")
You should now be set up to interact with the Kognic Platform.
Next step
- Upload your first scene: Quick guide on how to upload data to the Kognic Platform